Install
Install on iPhone, in about 41 seconds.
The install itself is the easy part and it has been the easy part since March 2024, when Apple shipped the universal link that lets a provider hand a profile straight to the phone. What still trips people up is the settings work after it, and specifically one toggle. We put that toggle in step six below and again in its own section, because we would rather repeat ourselves than have you standing at an airport with a phone that says No Service.
The six steps, in order
- Buy before you fly. Order on wifi at home. The profile is issued to your account in seconds, and if provisioning fails you are refunded automatically inside 60 seconds without asking anyone.
- Tap Install. In the Orbislo app or in the order email, tap Install eSIM. On iOS 17.4 and later this opens Apple's own eSIM install sheet directly. There is no QR code to scan and no second device involved.
- Confirm in Apple's sheet. iOS shows you the plan and asks you to confirm. Tap Continue, then Done. The profile is written to the eSIM chip already inside your iPhone.
- Label the line. iOS asks what to call it. Call it Orbislo. Choose your home line for Default Voice so calls and texts keep arriving on your usual number.
- Set Cellular Data to Orbislo. Settings, Cellular, Cellular Data, and pick the Orbislo line. Then turn off Allow Cellular Data Switching so your iPhone cannot quietly fall back to your home carrier and bill you for roaming.
- Turn on Data Roaming. Settings, Cellular, tap the Orbislo line under SIMs, then turn on Data Roaming. This is the step people skip and it is the answer roughly 60 percent of the time when someone lands and has no service.
41 s
Median setup, tap to connected
17.4
iOS version where the QR code stopped being needed
60%
Of no service reports are the Data Roaming toggle
60 s
Automatic refund window if provisioning fails
The Data Roaming toggle, which is the whole ballgame
It reads wrong, and that is why people leave it off. You are in Tokyo, on a Japanese network, and the phone is asking you to allow roaming. Here is the mechanism. Your Orbislo profile is not a Japanese consumer profile. It is a profile that attaches to KDDI or NTT Docomo under a wholesale agreement, and to iOS every one of those attachments is a roaming attachment. The classification is about who issued the profile, not about where your feet are. So the toggle is on the wrong side of the fence by default, and only you can move it.
Turning it on cannot cost you money on the Orbislo line. The plan is prepaid, the balance is in your wallet, and there is no home carrier anywhere in the chain that could raise an invoice. The charge people are afraid of comes from their home line, which is a separate switch on a separate SIM, and which you should leave exactly as it is.
Do this before you fly, on wifi, at the same time you install. It is much easier to find a settings screen in your own kitchen than in an arrivals hall with 400 other people and no connection.
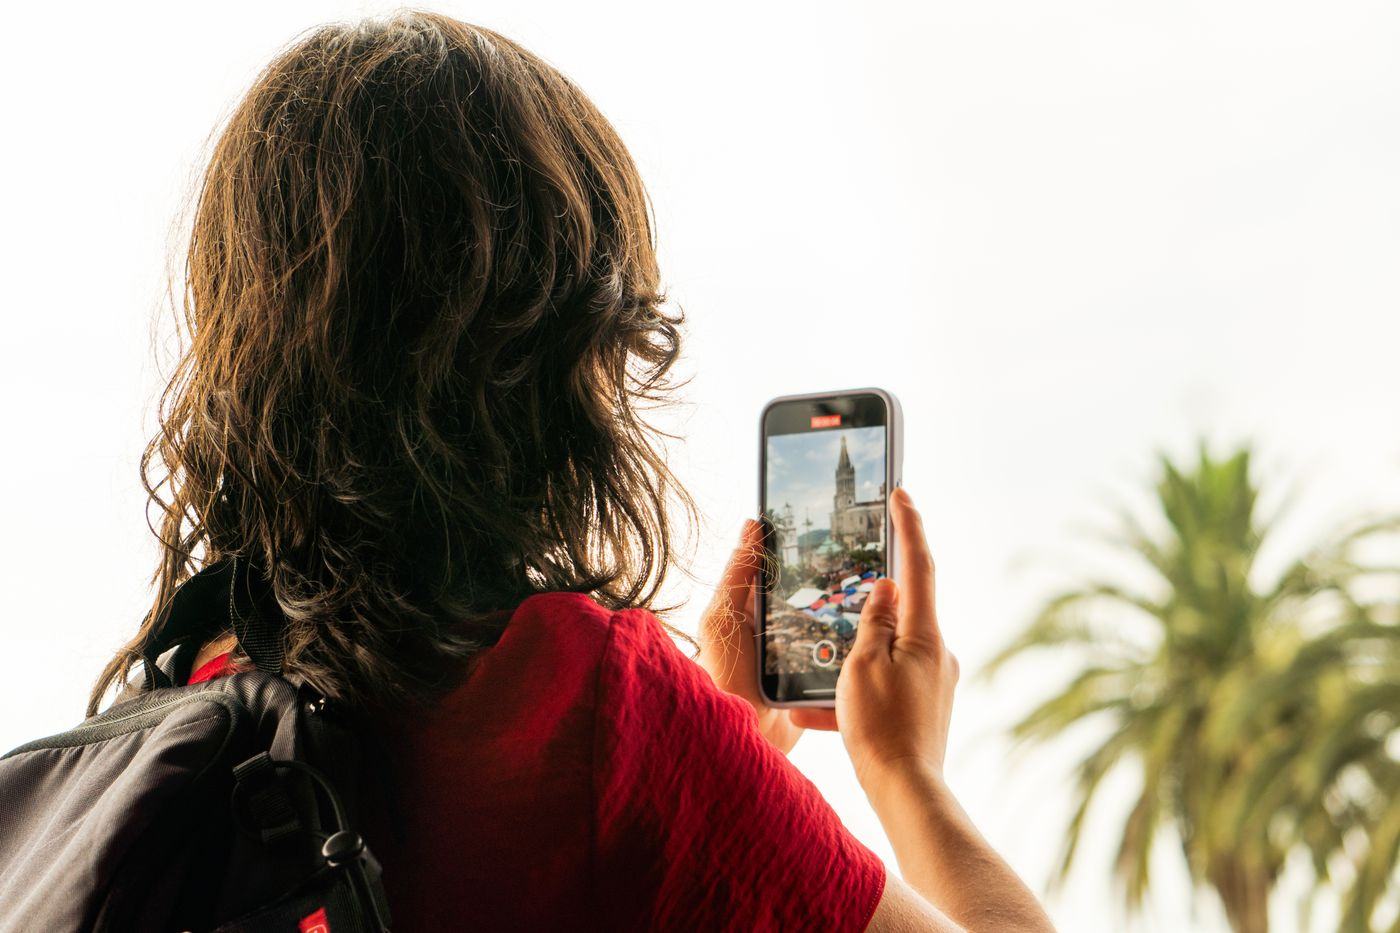
Keeping your own number while Orbislo carries the data
An iPhone runs two lines at once, so nothing has to be given up. Leave your home line installed and set as Default Voice. Calls and texts to your usual number keep arriving, including your bank codes, as long as your home carrier lets you receive texts abroad. Point Cellular Data at Orbislo and every byte of browsing, maps and messaging goes over the plan you paid a few dollars for instead of the one that charges by the megabyte.
Then turn off Allow Cellular Data Switching, in Settings, Cellular, Cellular Data. That setting exists so your iPhone can borrow the other line when the primary one is weak. At home it is helpful. Abroad it is the mechanism behind almost every surprise roaming bill a traveller sends us a screenshot of, because the phone borrowed the home line for eleven minutes in a tunnel and the home carrier charged for the privilege.
If it says No Service
| What you see | Almost always | The fix |
|---|---|---|
| No Service on the Orbislo line | Data Roaming is off | Settings, Cellular, tap the Orbislo line, turn on Data Roaming. About 60 percent of all no service reports end here. |
| Connected but nothing loads | Cellular Data is still pointed at your home line | Settings, Cellular, Cellular Data, select Orbislo. |
| Works, then stops after an hour | Allow Cellular Data Switching moved you back | Settings, Cellular, Cellular Data, turn off Allow Cellular Data Switching. |
| Searching, and never attaches | The radio has not re registered since you landed | Airplane mode on for 20 seconds, then off. If it is still searching, restart the iPhone. |
| Still searching after a restart | Automatic network selection picked a carrier with no agreement | Settings, Cellular, Orbislo line, Network Selection, turn off Automatic and pick a carrier we list for that country. |
| Install link says the plan cannot be added | You are on iOS 16 or earlier | Use the QR code from your order, or Enter Details Manually with the SM-DP+ address and activation code. |
Work down that table in order and stop at the first thing that changes. If you reach the bottom and are still dark, open the app and ask Ori, which runs on the phone and answers with no connection at all, or message a human. The support target is under 60 seconds, 24 hours a day, and your diagnostics are attached to the conversation before you type anything, so nobody asks you to describe your settings screen down a chat window.
Installing early, and the stored profile problem
Install now, not at the gate. Installing writes the profile. Activating happens the first time that profile attaches to a network in the destination country, which is normally about 90 seconds after you turn airplane mode off on the tarmac. Nothing is spent in between, so an install three weeks early costs the same as an install three minutes early and is far less stressful.
After the trip, leave it alone. A modern iPhone stores 8 or more eSIM profiles but runs only two lines at a time, and providers who issue a fresh disposable profile per trip fill that storage with dead credentials until iOS refuses the next one. The Orbislo Passport does not work that way. It is one profile that is updated over the air for the next country, so it takes one slot for life. Read the full mechanism on the Passport page, or go straight to the store and pick where you are going.
Questions people actually ask
Do I still need a QR code?
Why do I have to turn Data Roaming on when I am sitting in the country?
Should I install before I fly or after I land?
Will my normal number keep working?
Do I delete the eSIM when I get home?
How many eSIMs can an iPhone store?
What if the install fails halfway?
Settings paths described here are for iOS 17 and iOS 18. Apple moves menu wording between releases. If a name does not match, search the Settings app for the word Cellular.